

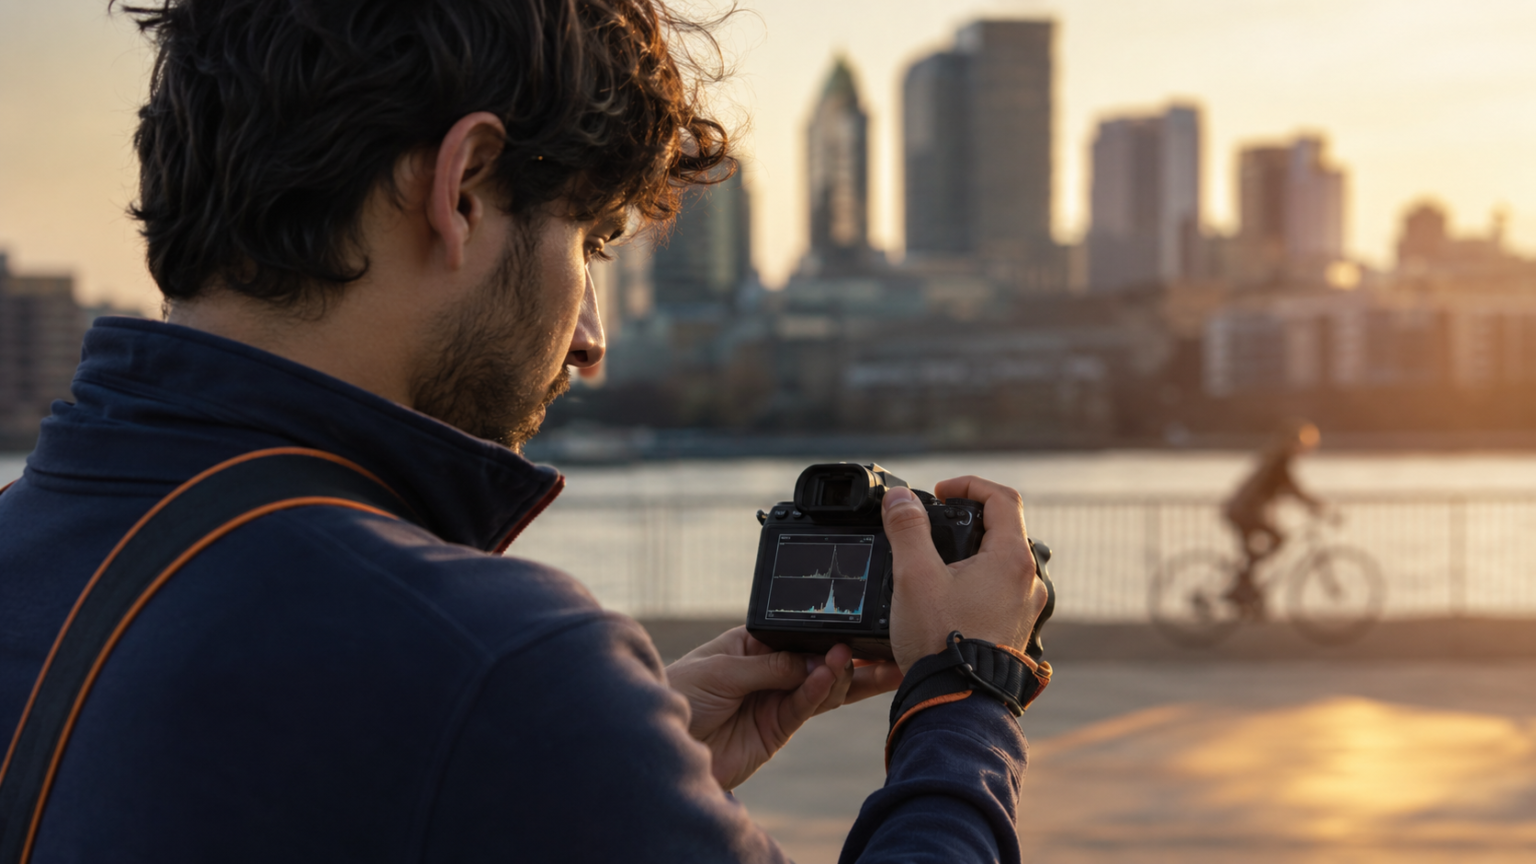
ISO, shutter speed, and aperture are the three controls photographers use to manage exposure, but the useful lesson is not simply that all three change brightness. Shutter speed determines how motion appears. Aperture shapes depth of field. ISO helps the camera produce the required brightness after those creative choices are made.
- ISO Shutter Speed and Aperture: What Each Controls
- Step 1: Decide How Motion Should Look
- Step 2: Choose the Depth of Field
- Step 3: Raise ISO Until the Exposure Works
- A Simple Manual-Mode Workflow
- Understanding Stops Without Memorizing Everything
- Example Settings for Real Situations
- Reading the Meter and Histogram
- Common Beginner Problems
- Frequently Asked Questions
- Which exposure setting should a beginner learn first?
- Is Auto ISO cheating?
- Can I fix wrong exposure in editing?
- What is the best ISO?
- The Bottom Line
Once you set them in the right order for the scene, manual exposure stops feeling like a three-number puzzle.
ISO Shutter Speed and Aperture: What Each Controls
| Control | What it changes | Typical starting question |
|---|---|---|
| Shutter speed | Motion and camera shake | How fast is the subject moving? |
| Aperture | Depth of field and lens opening | How much of the scene should look sharp? |
| ISO | Brightness and noise level | How much amplification is needed? |
For a closer side-by-side explanation, see ISO vs aperture vs shutter speed. This guide focuses on the order of decisions while you are actually taking a photograph.
Step 1: Decide How Motion Should Look
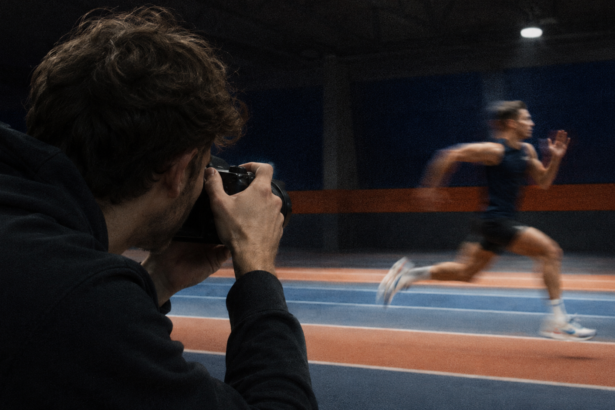
Begin with shutter speed when movement matters. A fast speed freezes action; a slow speed lets movement stretch across the frame. There is no universally correct value, because a person sitting still, a walking subject, and a bird in flight move at very different speeds.
- Still subject, steady hands: around 1/125 second can be a useful starting point.
- Walking person: try around 1/250 second.
- Active children or pets: start around 1/500 second.
- Fast sport or birds: 1/1000 second or faster may be needed.
These are starting points, not promises. Lens length, direction of movement, distance, stabilization, and how large the image will be viewed all matter.
Step 2: Choose the Depth of Field
Next, choose an aperture that gives the scene enough depth. A portrait of one person may look good at f/2 or f/2.8. A small group often needs f/4 or f/5.6. A landscape may use f/8, especially when the foreground and distance both matter.
Do not open the lens automatically just because the room is dark. At close focusing distances, a very wide aperture can leave part of the face or product outside the focus zone. The guide to shutter speed and aperture shows how these two choices affect each other.
Step 3: Raise ISO Until the Exposure Works
With motion and depth protected, adjust ISO to reach a usable brightness. In daylight that may be ISO 100 or 200. Indoors it may be ISO 800, 1600, or higher. A higher value can add noise, but it may be the correct decision if the alternative is a shutter speed that produces blur.
Modern cameras vary greatly in high-ISO performance. Test your own camera rather than relying on a universal maximum copied from someone else’s equipment.
A Simple Manual-Mode Workflow
- Set the camera to manual exposure mode.
- Choose the shutter speed required for the subject.
- Choose the aperture required for depth of field.
- Adjust ISO until the meter and preview are close to the intended brightness.
- Take a test frame and check highlights, shadows, and motion.
- Change one setting at a time.
Auto ISO can make this workflow faster. You choose shutter speed and aperture, while the camera adjusts ISO within limits you set. It is especially useful when light changes but the subject’s movement and desired depth remain consistent.
Understanding Stops Without Memorizing Everything
A stop is a doubling or halving of exposure. Change shutter speed from 1/500 to 1/250 second and you add one stop of captured light. Change ISO 400 to ISO 800 and the image is rendered one stop brighter. Change aperture from f/4 to f/2.8 and the lens admits one additional stop.
This relationship lets you trade settings deliberately. If you change 1/250 to 1/500 second to freeze movement, you can move ISO 800 to ISO 1600 to maintain similar brightness without changing depth of field.
Example Settings for Real Situations
Outdoor portrait
Start around 1/500 second, f/2.8, and Auto ISO. The shutter protects against small body movement, while the aperture separates the subject from the background.
Indoor family photo
Try 1/250 second, f/4, and raise ISO as needed. The slightly narrower aperture gives several faces more room within the focus zone.
Landscape on a tripod
Start at ISO 100 and f/8, then let shutter speed fall where needed. Use a timer or remote release so pressing the button does not shake the camera.
Moving subject at dusk
Choose the minimum shutter speed that freezes the action, open the aperture as far as depth allows, and accept a higher ISO. A noisy sharp frame usually carries more information than a clean but motion-blurred one.
More starting points are collected in the aperture, shutter speed, and ISO settings guide.
Reading the Meter and Histogram
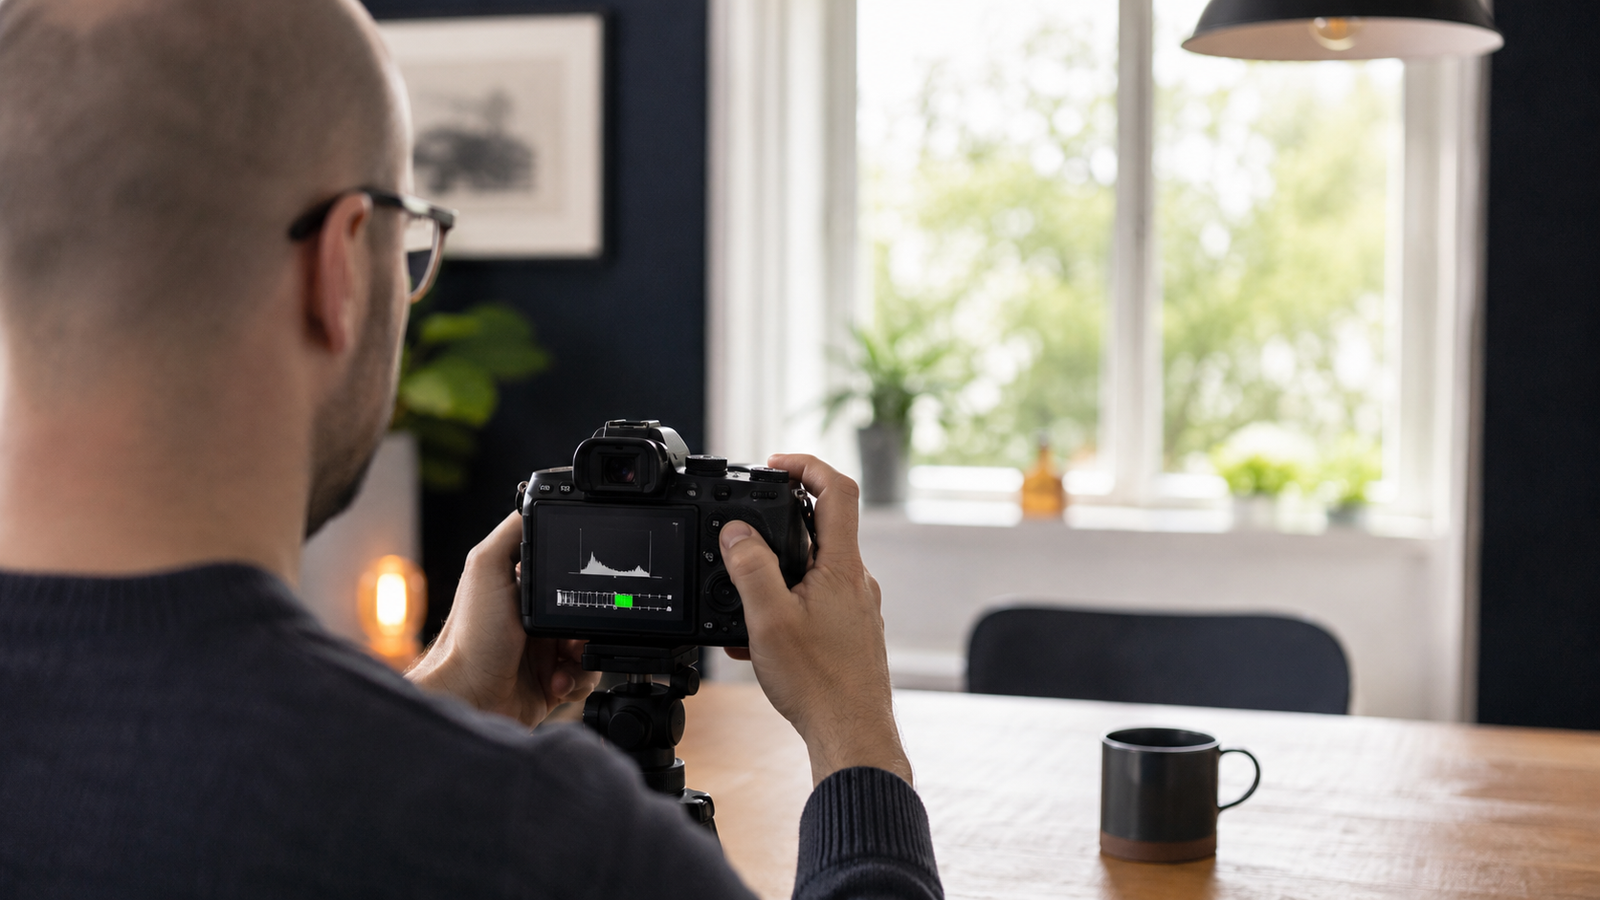
The exposure meter predicts how bright the camera expects the scene to be relative to a middle tone. It can be misled by a white snowfield or a dark stage. Use it as a reference, then check the histogram and important highlight warnings.
A histogram pressed hard against the right edge may indicate clipped highlights. A graph concentrated on the left can be normal for a dark scene, but it may also show underexposure. Judge the photograph you intended, not whether the graph has a perfect shape.
Common Beginner Problems
Photos are bright but blurry
The shutter may be too slow. Increase it and raise ISO to maintain brightness. The blurry pictures troubleshooting guide helps identify camera shake and subject movement.
Only one eye is sharp
The aperture may be too wide for the subject angle and distance. Focus on the nearer eye and consider a slightly narrower aperture.
The image is noisy
ISO may be high, or the file may have been underexposed and brightened heavily. Add light, open the aperture if depth allows, or use a slower shutter when the subject is stationary and the camera is supported.
Manual mode feels too slow
Use aperture priority for depth-driven scenes, shutter priority for motion-driven scenes, or manual mode with Auto ISO. Learning exposure does not require choosing every number manually for every frame.
Frequently Asked Questions
Which exposure setting should a beginner learn first?
Shutter speed is a practical starting point because unwanted motion blur ruins many early photos. Then learn aperture for depth of field and ISO as the supporting brightness control.
Is Auto ISO cheating?
No. It automates one variable while you control the settings connected to motion and depth. Set sensible minimum and maximum limits for your camera.
Can I fix wrong exposure in editing?
Small corrections are normal, especially with RAW files. Editing cannot restore clipped highlights, remove strong motion blur, or recreate detail that was never focused.
What is the best ISO?
The lowest ISO that still allows the shutter speed and aperture your photograph needs. That may be ISO 100 on a tripod or ISO 3200 during indoor action.
The Bottom Line
Set shutter speed for motion, aperture for depth, and ISO for the brightness needed to support both. That order turns the exposure triangle into a repeatable shooting method rather than a chart you have to memorize.
Adobe’s photography exposure guide offers another useful explanation of how these three controls work together.