


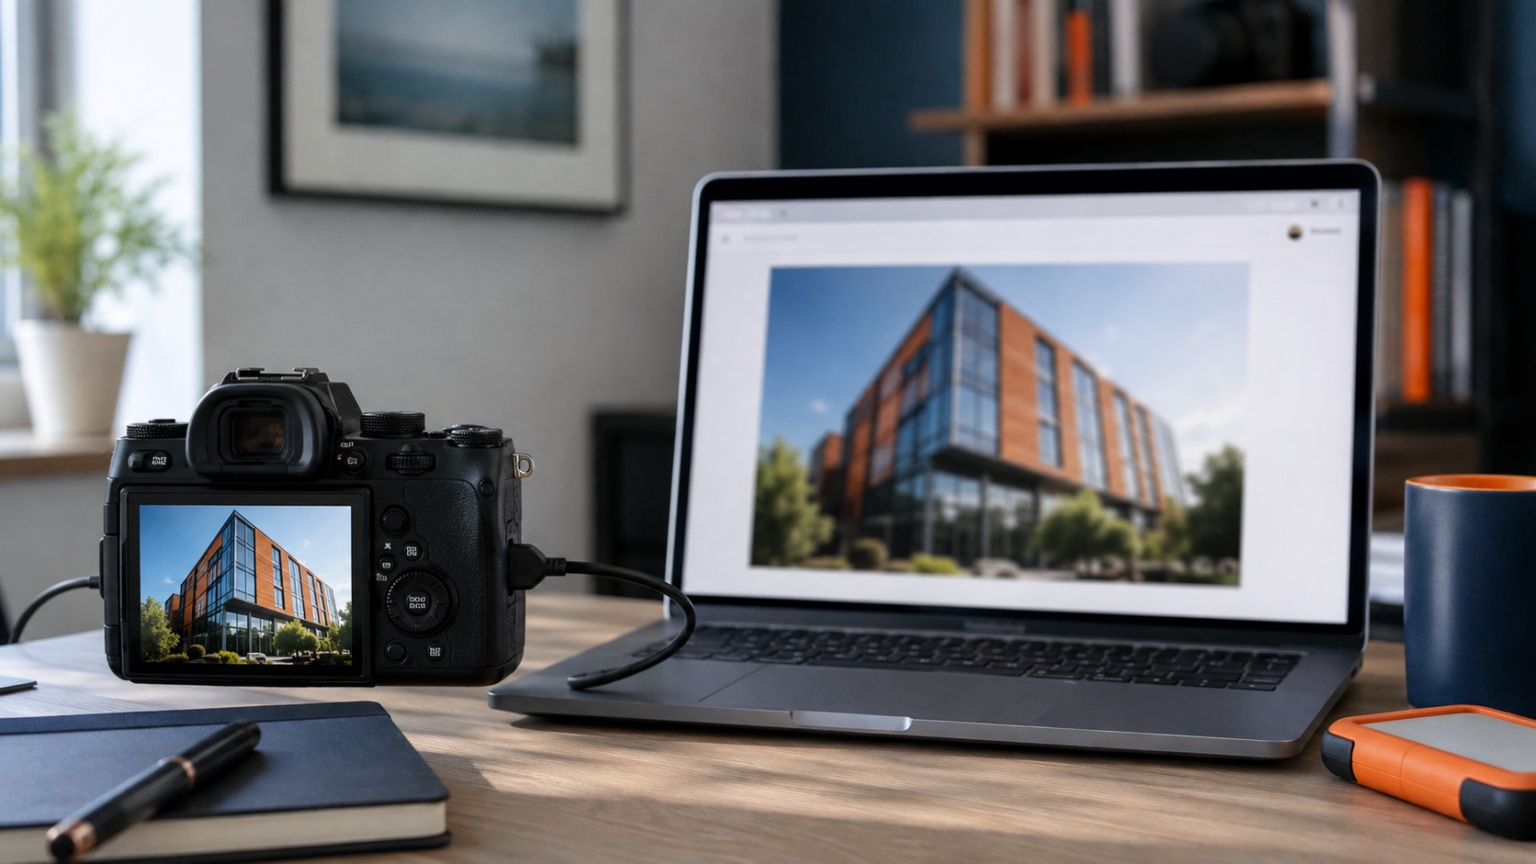
If you are asking why are my photos blurry after sharing them, compare the original file with the uploaded copy before changing camera settings.
- Why Are My Photos Blurry? Check the Uploaded Copy
- Where Did the Photo Become Blurry?
- Why Are My Photos Blurry After Uploading?
- 1. The export dimensions are too small
- 2. The quality setting is too aggressive
- 3. The platform recompressed the image
- 4. You uploaded a thumbnail or preview
- 5. The website is serving a temporary low-resolution image
- 6. The browser is scaling the image
- 7. Sharpening was applied at the wrong stage
- 8. The file has been saved several times
- 9. The original was only slightly sharp
- Reliable Export Settings for Web Photos
- How to Test an Upload Without Guessing
- Phone Uploads Need an Extra Check
- Frequently Asked Questions
- Why are my photos blurry on social media but sharp in my gallery?
- Does a larger file always look sharper online?
- Should I upload PNG instead of JPEG?
- Why does an image look blurry in the editor but sharp after publishing?
- The Bottom Line
Why Are My Photos Blurry? Check the Uploaded Copy
If you are asking why are my photos blurry after uploading, compare the uploaded version with the original file first. When the original is sharp but the online copy is soft, the usual cause is resizing, compression, a low-resolution export, or an app that created a smaller preview. Your camera and focus settings may be perfectly fine.
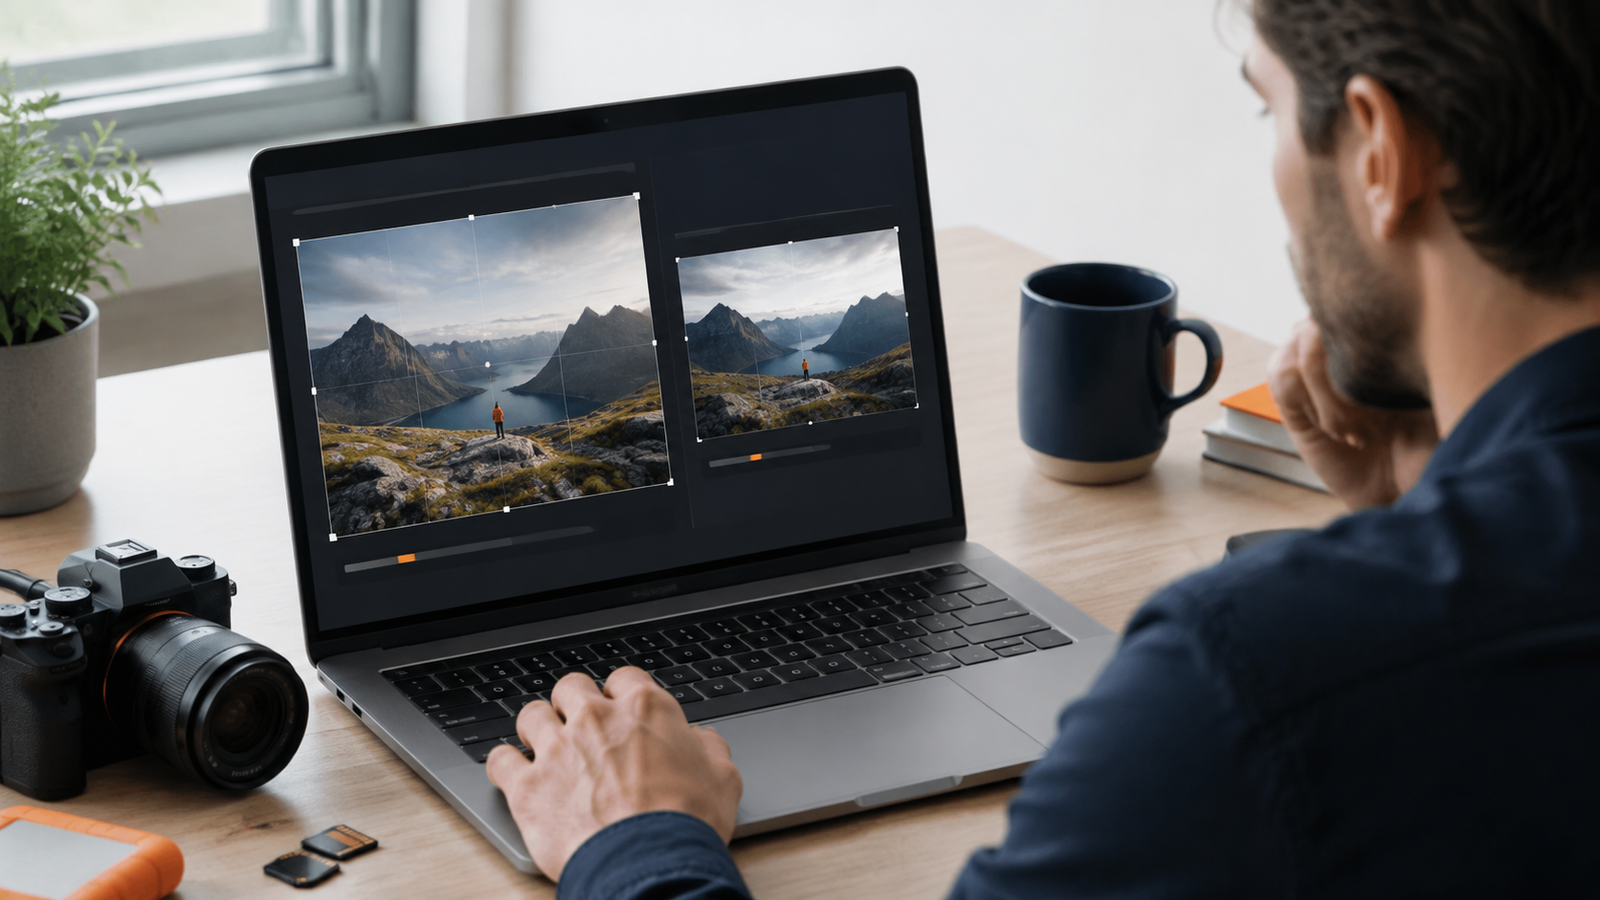
The fix depends on where sharpness disappears. Follow the image from camera to editor to upload, and check each version at the same viewing size.
Where Did the Photo Become Blurry?
| Version | If it looks sharp | If it looks blurry |
|---|---|---|
| Original camera file | Capture was successful | Check focus, shutter speed, and lens |
| Edited export | Export settings are likely adequate | Increase dimensions and quality |
| Uploaded file | The service accepted it correctly | Check platform compression |
| Page or app preview | Display is working normally | Open the full-size image before judging |
Why Are My Photos Blurry After Uploading?
1. The export dimensions are too small
An image that is 800 pixels wide may look fine in a small editor window but soft when a website stretches it across a large desktop display. Check pixel dimensions, not only file size. Export close to the size the image will actually be displayed, with enough room for high-density screens.
2. The quality setting is too aggressive
JPEG compression reduces file size by discarding information. Moderate compression is usually difficult to notice, but a very low quality setting can smear hair, grass, fabric, and fine lettering. Export one test at a higher quality and compare it with the smaller version before changing your entire workflow.
3. The platform recompressed the image
Social networks, messaging apps, website builders, and email services often create their own versions. Some prioritize fast loading over fine detail. Uploading a clean, correctly sized JPEG usually gives the platform less work to do than sending a huge file or repeatedly saving an already compressed image.
4. You uploaded a thumbnail or preview
Photo libraries sometimes display several files with similar names. A thumbnail, screenshot, or messaging-app copy may sit next to the full-resolution original. Check the file’s pixel dimensions and export history before uploading again.
5. The website is serving a temporary low-resolution image
Lazy loading may show a soft placeholder for a moment while the full image loads. A slow connection can make that transition noticeable. Wait, refresh once, and open the image directly. If it becomes sharp after loading, the file itself is not damaged.
6. The browser is scaling the image
A browser zoom level above or below 100 percent can make fine lines look uneven. Operating-system display scaling can also affect how an image is sampled. Check the page at 100 percent browser zoom and compare it on another screen before re-exporting.
7. Sharpening was applied at the wrong stage
Capture sharpening and output sharpening solve different problems. A photo prepared for a large print should not receive the same final sharpening as a smaller web image. Resize first, then apply gentle output sharpening while viewing the final dimensions.
8. The file has been saved several times
Repeatedly opening and saving a JPEG can compound compression artifacts. Keep a high-quality master file, then create a fresh web copy from that master rather than editing the last uploaded version.
9. The original was only slightly sharp
A small phone or camera screen can hide minor camera shake or missed focus. Compression then makes that weakness easier to see. Inspect the full-resolution original at 100 percent. If it is also soft, start with the guide to why pictures come out blurry.
Reliable Export Settings for Web Photos
There is no single perfect setting for every website, but this practical starting point works well for many editorial images:
- Use sRGB color space unless the destination specifies something else.
- Export a JPEG or WebP at the dimensions required by the site layout.
- Choose a medium-high quality setting rather than the absolute maximum or a very low setting.
- Apply light output sharpening after resizing.
- Keep the original RAW file or high-quality master.
- Name the final file clearly so you do not upload a thumbnail by mistake.
For CameraStampa articles, size the image for the real content width rather than uploading an enormous original and relying on the page to shrink it. A properly prepared file can remain crisp while loading faster.
How to Test an Upload Without Guessing
- Choose one detailed photo with text, hair, fabric, or foliage.
- Export a version at the site’s intended pixel width.
- Export a second version at the same dimensions but a higher quality setting.
- Upload both privately or as unpublished media.
- View each at 100 percent browser zoom on the same screen.
- Keep the smallest version that still looks clean.
If both versions become equally soft, the platform may be resizing them. If only the lower-quality version looks poor, your export setting is the issue.
Phone Uploads Need an Extra Check
Many messaging apps send a reduced copy unless you choose an HD or file/document option. Cloud galleries may show a preview before the original downloads. Also check whether the app has permission to access the full-resolution photo rather than an optimized local version.
If the image looks blurry before it is uploaded, clean the phone lens and tap the subject to focus. A blur limited to one part of the frame may need the phone camera blur troubleshooting guide.
Frequently Asked Questions
Why are my photos blurry on social media but sharp in my gallery?
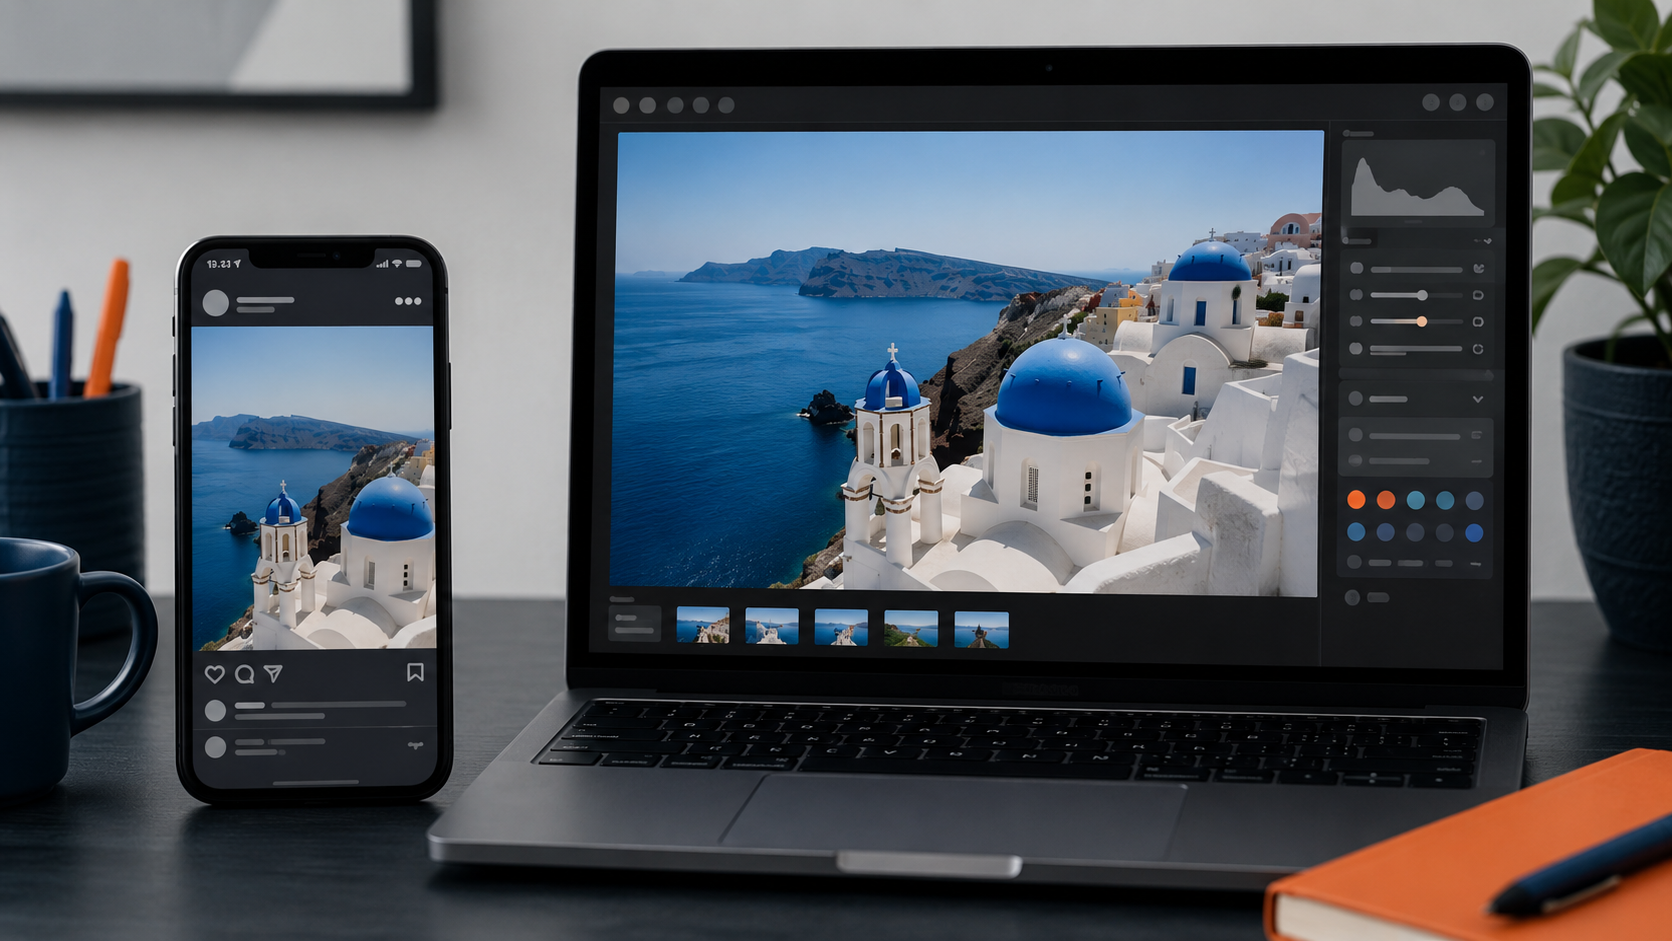
The social platform probably resized or recompressed the file. Export at suitable dimensions, avoid repeated JPEG saves, and use the platform’s high-quality upload option if one is available.
Does a larger file always look sharper online?
No. A huge file may still be compressed by the platform. Correct pixel dimensions, sensible quality, and proper sharpening matter more than file size alone.
Should I upload PNG instead of JPEG?
PNG is useful for graphics, screenshots, and text with hard edges. Photographs are usually more efficient as high-quality JPEG or WebP files. Some platforms recompress PNG photos anyway.
Why does an image look blurry in the editor but sharp after publishing?
The editor may show a lower-resolution preview to stay responsive. Judge the full-size published or preview output, not only the editing canvas.
The Bottom Line
When a photo becomes blurry after uploading, find the first version where detail disappears. Correct dimensions, moderate compression, sRGB color, and light sharpening after resizing solve most cases. Keep a master file so every future export starts from the best available image.
For another practical reference, Adobe’s guide to sharpening blurry photos covers focus, camera stability, shutter speed, and aperture.