

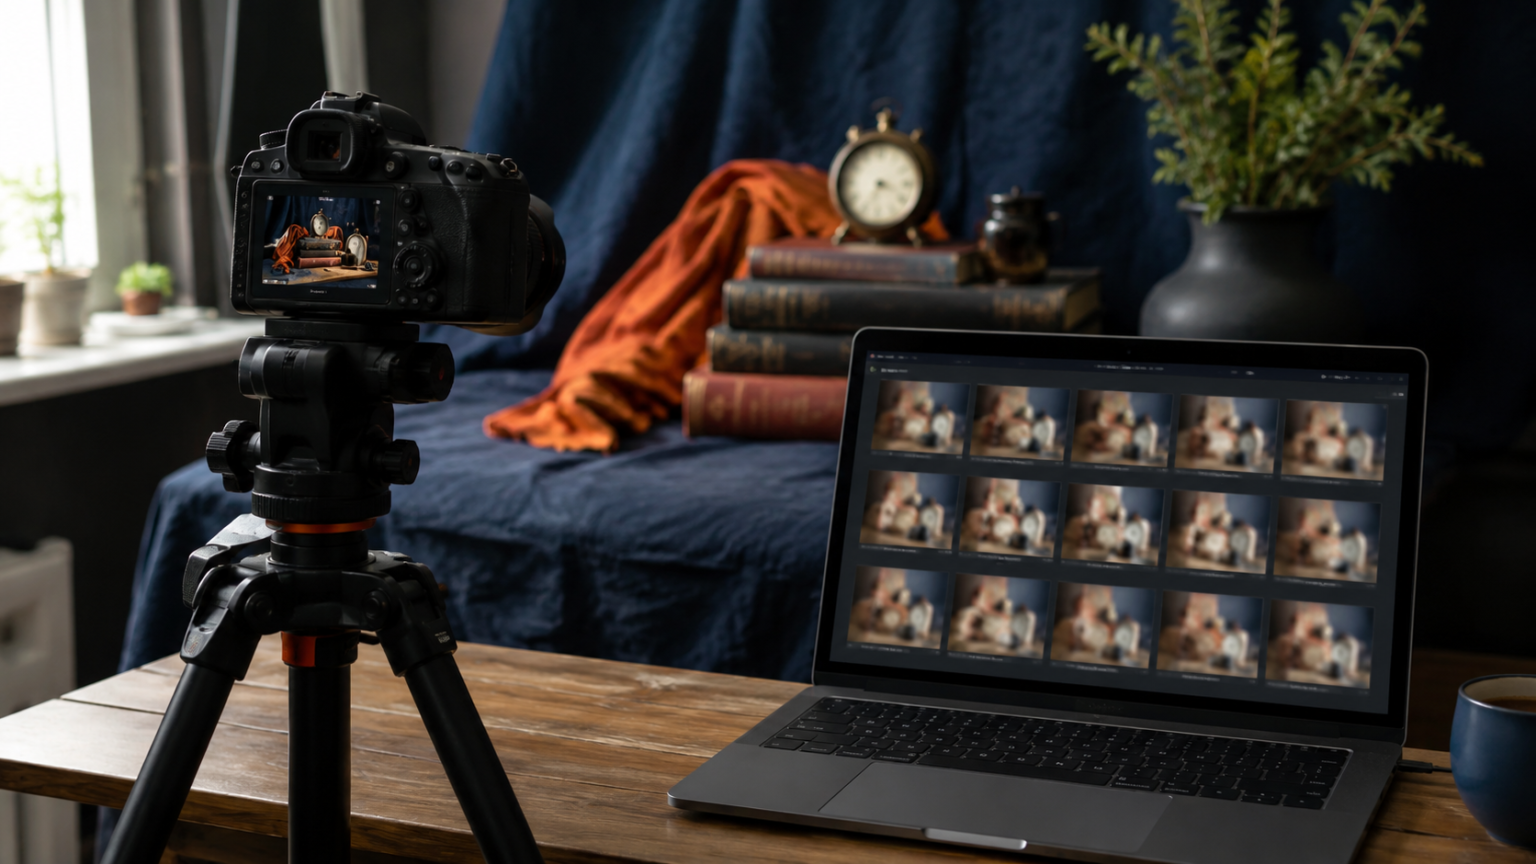
If you keep asking why are all my photos blurry, use one controlled test before changing several settings at once.
- Why Are All My Photos Blurry? Start With a Test
- First, Decide What “Blurry” Looks Like
- Why Are All My Photos Blurry? Run This Controlled Test
- Settings That Can Make Every Shot Soft
- Your shutter speed stays too slow
- The camera keeps choosing the wrong focus area
- The autofocus mode does not match the subject
- Your aperture creates too little depth of field
- ISO and noise reduction are erasing detail
- Physical Issues Worth Checking
- A filter or lens protector is degrading the image
- The lens is not fully communicating with the camera
- Image stabilization is being used in the wrong situation
- Viewfinder adjustment is fooling you
- Could the Camera or Lens Need Service?
- What Not to Do
- Frequently Asked Questions
- Why is every photo blurry on automatic mode?
- Can a damaged lens make all photos blurry?
- Why are RAW files softer than JPEGs?
- Should I reset my camera?
- The Bottom Line
Why Are All My Photos Blurry? Start With a Test
If you are wondering why are all my photos blurry, the fact that it happens repeatedly is useful evidence. A single soft frame may be ordinary camera shake. An entire card of blurry images usually points to a setting that stays wrong, a focus habit, a dirty lens, or an equipment problem that can be tested.
Do not change every menu at once. Work through the checks below in order, and use one simple test subject so you can see which change actually solves the issue.
First, Decide What “Blurry” Looks Like
| Appearance | Likely problem | Useful check |
|---|---|---|
| Directional streaks across the frame | Camera movement | Use a tripod and self-timer |
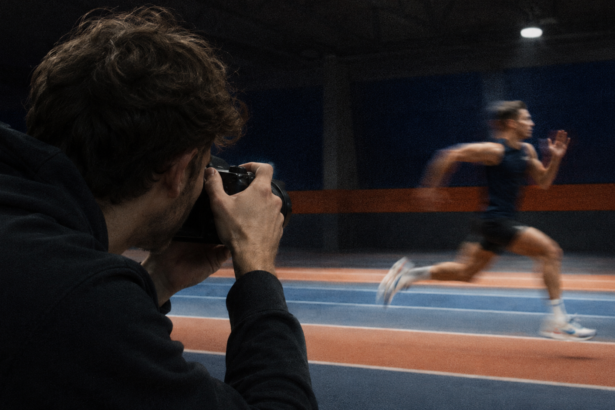
| Only moving subjects are soft | Shutter speed too slow | Photograph a stationary object |
| The background is sharper than the subject | Focus point misplaced | Select one autofocus point |
| Everything looks hazy | Dirty, fogged, or damaged lens | Clean and inspect the glass |
| Fine detail looks smeared | Heavy noise reduction or low resolution | Check the original file and ISO |
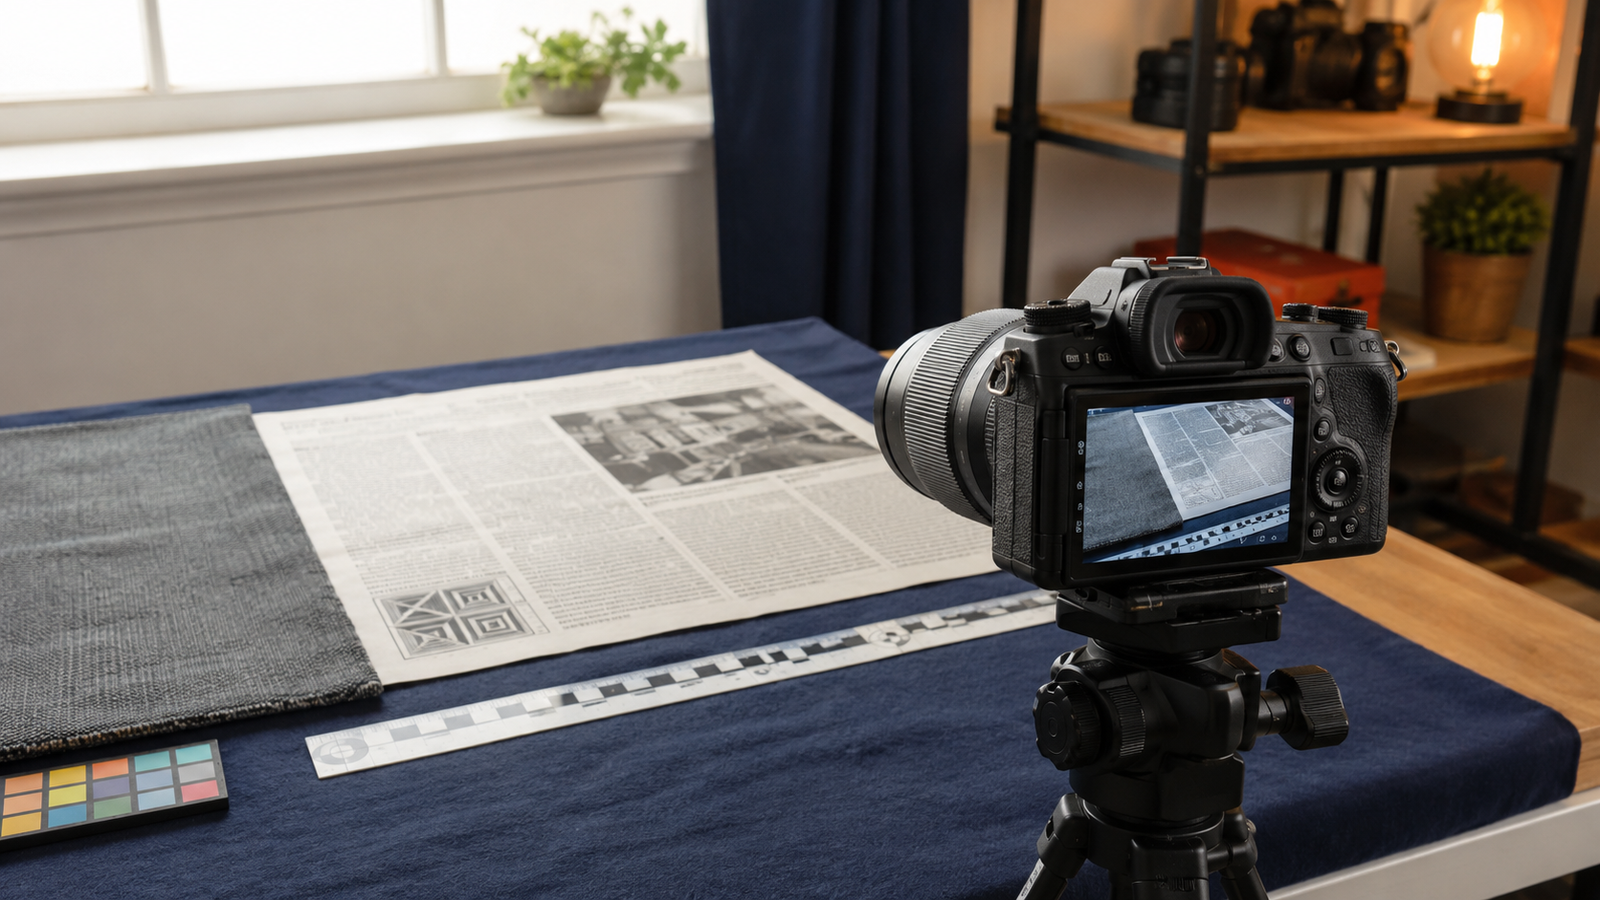
Why Are All My Photos Blurry? Run This Controlled Test
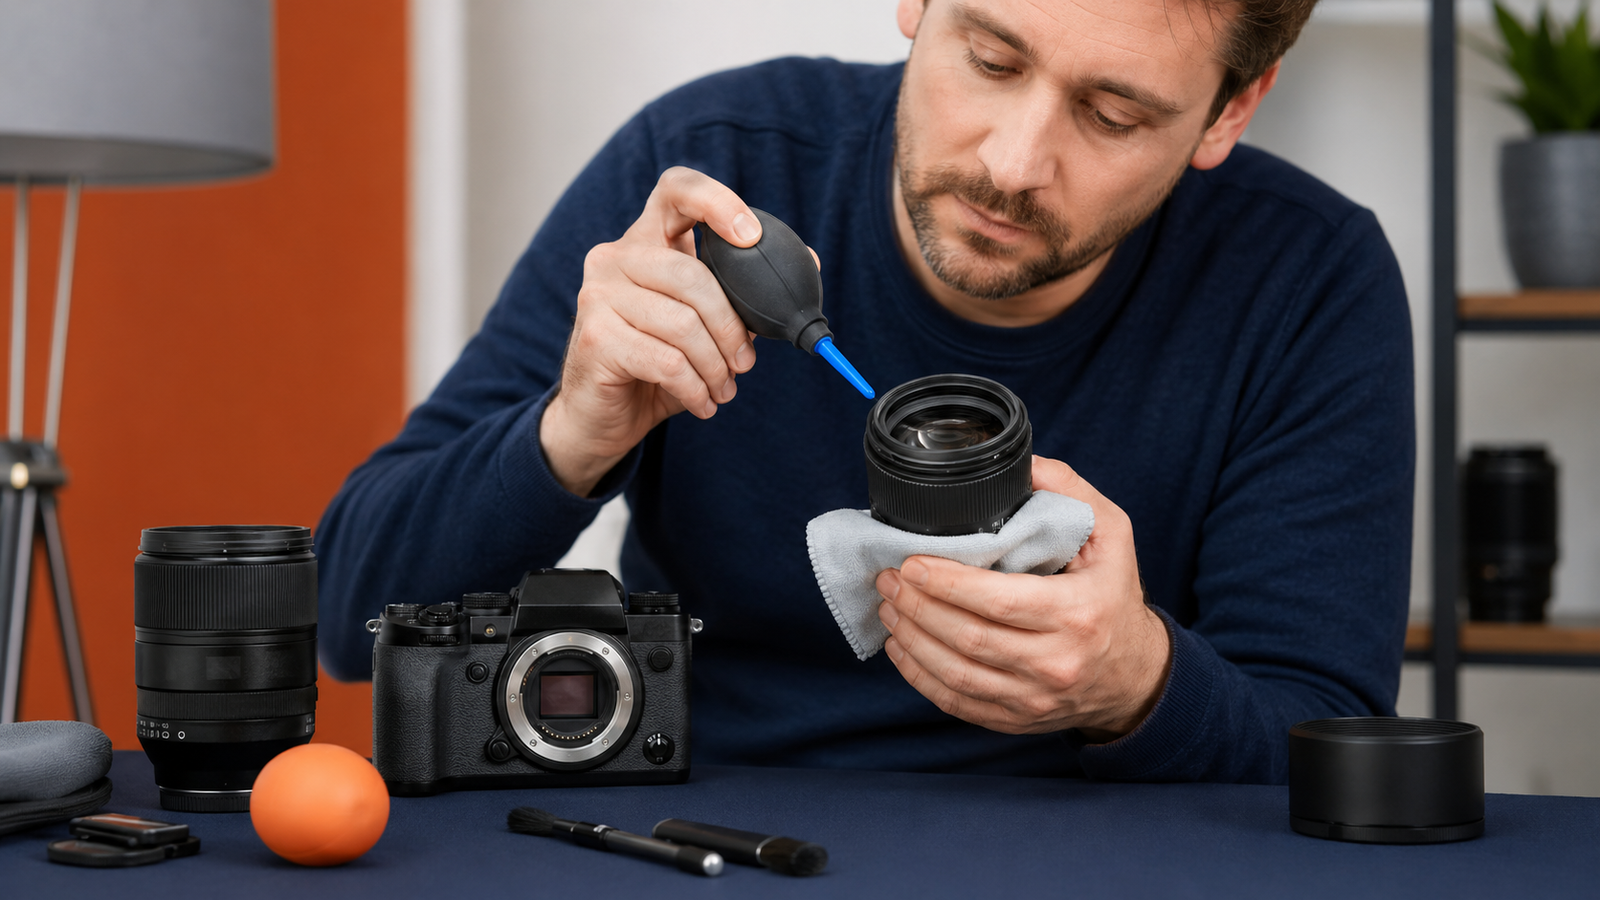
- Clean the front and rear lens surfaces with a clean microfiber cloth.
- Choose a bright room or outdoor shade during the day.
- Place a book, cereal box, or printed page several feet away.
- Set the camera on a table or tripod and turn on a two-second timer.
- Use a single autofocus point on bold, high-contrast text.
- Set a moderate aperture such as f/5.6 and a shutter speed around 1/250 second.
- Let ISO rise if needed, then take three frames.
- Review the original files at 100 percent on a larger screen.
If those test frames are sharp, the camera and lens can focus correctly. The problem is more likely connected to normal shooting conditions, especially movement, low light, or automatic focus selection. For a broad list of occasional causes, see why pictures turn out blurry.
Settings That Can Make Every Shot Soft
Your shutter speed stays too slow
Auto mode may repeatedly choose a slow shutter speed in a dim room. This affects nearly every handheld frame, even when the subject appears still. Watch the shutter speed in the viewfinder. If it is hovering around 1/15 or 1/30 second, increase it and raise ISO to compensate. The ISO vs shutter speed guide shows which compromise usually protects sharpness.
The camera keeps choosing the wrong focus area
Wide-area autofocus can grab a contrasty background instead of a face or product. Switch to a smaller focus zone or single point. For people and animals, enable the correct eye-detection subject if your camera offers it. Confirm that the focus box actually lands on the intended eye.
The autofocus mode does not match the subject
Single autofocus is dependable for still subjects, but a walking person may move out of the focus plane after the camera locks. Continuous autofocus follows movement while the shutter button remains half-pressed. The reverse problem can also happen: a camera left in continuous mode may keep shifting focus during careful still-life work.
Your aperture creates too little depth of field
At f/1.4 or f/1.8, focus can be accurate while most of the scene still appears soft. This is especially noticeable with groups, close-ups, and angled subjects. Try f/4 to f/8 for the test. Learn how shutter speed and aperture balance each other before closing the aperture in low light.
ISO and noise reduction are erasing detail
Very high ISO adds noise. Strong in-camera or editing noise reduction then smooths texture, hair, foliage, and lettering. That is different from motion blur, but it can make every image look soft. Compare a daylight frame at low ISO with a dim-light frame at high ISO.
Physical Issues Worth Checking
A filter or lens protector is degrading the image
A scratched, fogged, greasy, or inexpensive filter can reduce contrast across every frame. Remove it temporarily and repeat the test. On phones, adhesive camera protectors can create the same effect, especially around bright lights.
The lens is not fully communicating with the camera
Turn the camera off, remove the lens, and attach it again securely. Do not touch the electronic contacts. If one lens is always soft but another is sharp under identical conditions, the problem follows the lens rather than the camera body.
Image stabilization is being used in the wrong situation
Stabilization helps with handheld camera movement. Some older lenses or systems can behave poorly when left on during a long tripod exposure, although many newer systems detect tripod use. Check the manual for your equipment and test stabilization both ways.
Viewfinder adjustment is fooling you
The diopter wheel changes how viewfinder information looks to your eye. A misadjusted diopter can make the viewfinder seem blurry, but it does not normally make the saved photo blurry. If the rear-screen image and downloaded file are sharp, adjust the diopter rather than changing focus settings.
Could the Camera or Lens Need Service?
Service becomes more plausible when controlled tripod shots remain soft, autofocus consistently misses in the same direction, a lens has suffered an impact, or moisture is visible inside the optics. Before paying for repair, reset custom autofocus adjustments, test another lens, and compare autofocus with careful manual focus using magnified live view.
With some DSLR and lens combinations, viewfinder autofocus can need calibration while live-view focus remains accurate. Mirrorless systems focus from the imaging sensor, so that specific mismatch is less common. If you are comparing systems, the mirrorless vs DSLR camera guide explains their practical autofocus differences.
What Not to Do
- Do not assume high ISO is always worse than a slow shutter speed.
- Do not judge sharpness only from a tiny camera preview.
- Do not buy a new lens before running a bright-light tripod test.
- Do not apply aggressive sharpening to hide missed focus.
- Do not confuse a blurry viewfinder with a blurry saved file.
Frequently Asked Questions
Why is every photo blurry on automatic mode?
The camera may be selecting a slow shutter speed or the wrong focus area. Try bright light, a stationary subject, a single focus point, and a faster shutter speed.
Can a damaged lens make all photos blurry?
Yes. Internal haze, impact damage, a misaligned element, or a failing focus motor can cause consistent softness. Compare with another lens before arranging service.
Why are RAW files softer than JPEGs?
JPEGs usually receive in-camera sharpening and contrast. RAW files often look flatter at first and need appropriate sharpening during processing. That does not mean the RAW file contains less detail.
Should I reset my camera?
A settings reset can help when an unfamiliar autofocus or image-quality option is responsible. Photograph your custom settings first so you can restore anything important.
The Bottom Line
When all your photos are blurry, consistency is the clue. Test a still subject in bright light with a supported camera, a single focus point, and a fast shutter speed. A sharp result points back to technique or settings. A consistently soft result that follows one lens may justify closer inspection or professional service.
For another practical reference, Adobe’s guide to sharpening blurry photos covers focus, camera stability, shutter speed, and aperture.