

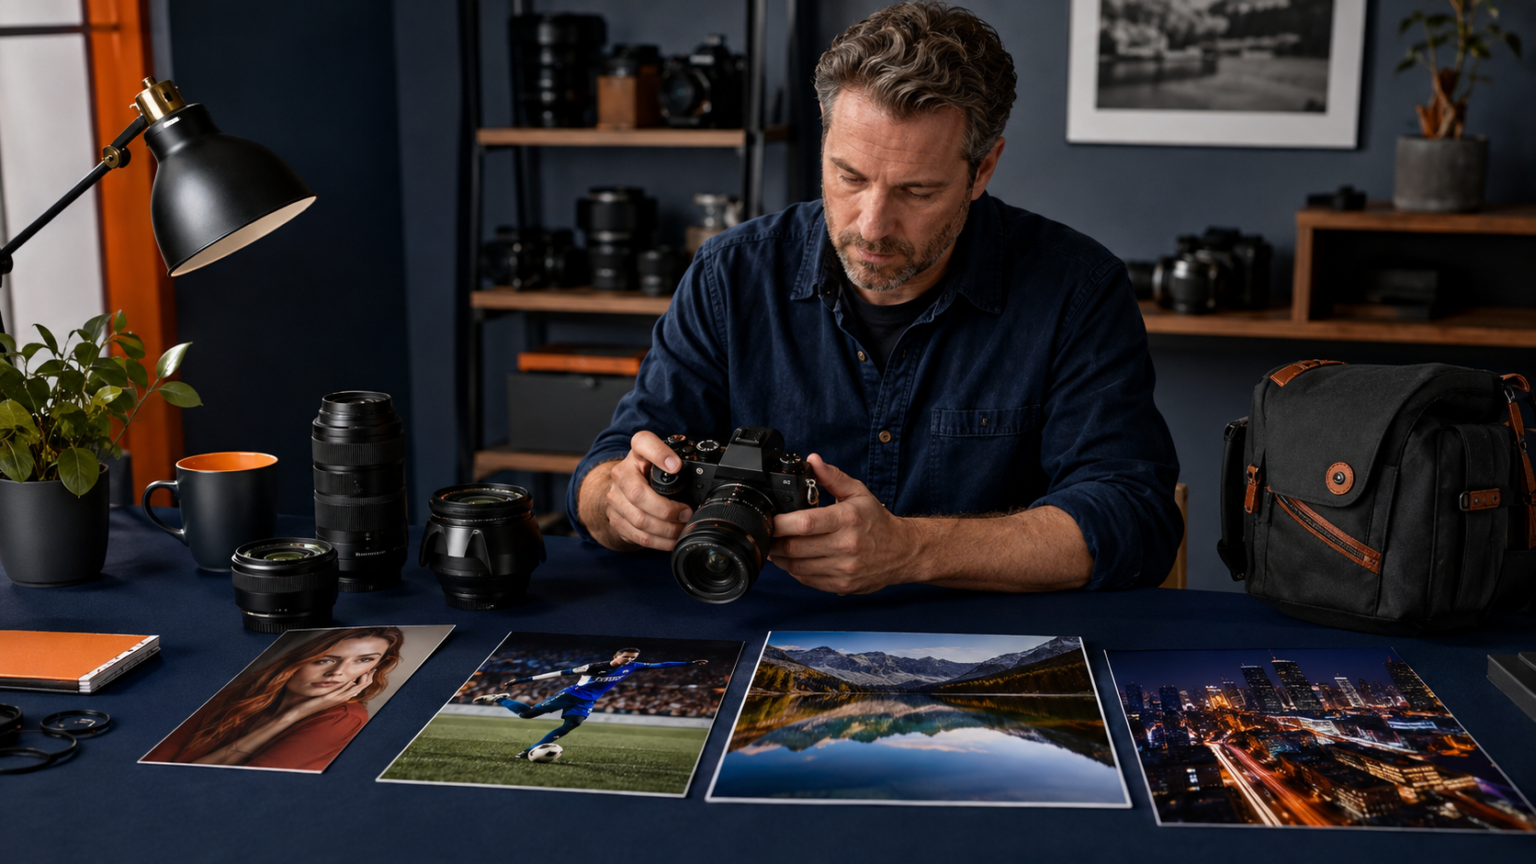
This aperture shutter speed ISO guide starts with the look you want, then gives you practical settings to reach it.
- Aperture Shutter Speed ISO: A Quick Setup
- Aperture, Shutter Speed, and ISO Quick Settings Chart
- Portrait Settings
- Action and Sports Settings
- Landscape Settings
- Street Photography Settings
- Low-Light Event Settings
- Moving Water and Long Exposures
- Night Sky Settings
- Video Starting Settings
- A Repeatable Setup Method
- Frequently Asked Questions
- What settings should I leave on Auto?
- What settings create the sharpest photo?
- Is ISO 3200 too high?
- Why are my manual settings producing a dark image?
- The Bottom Line
Aperture Shutter Speed ISO: A Quick Setup
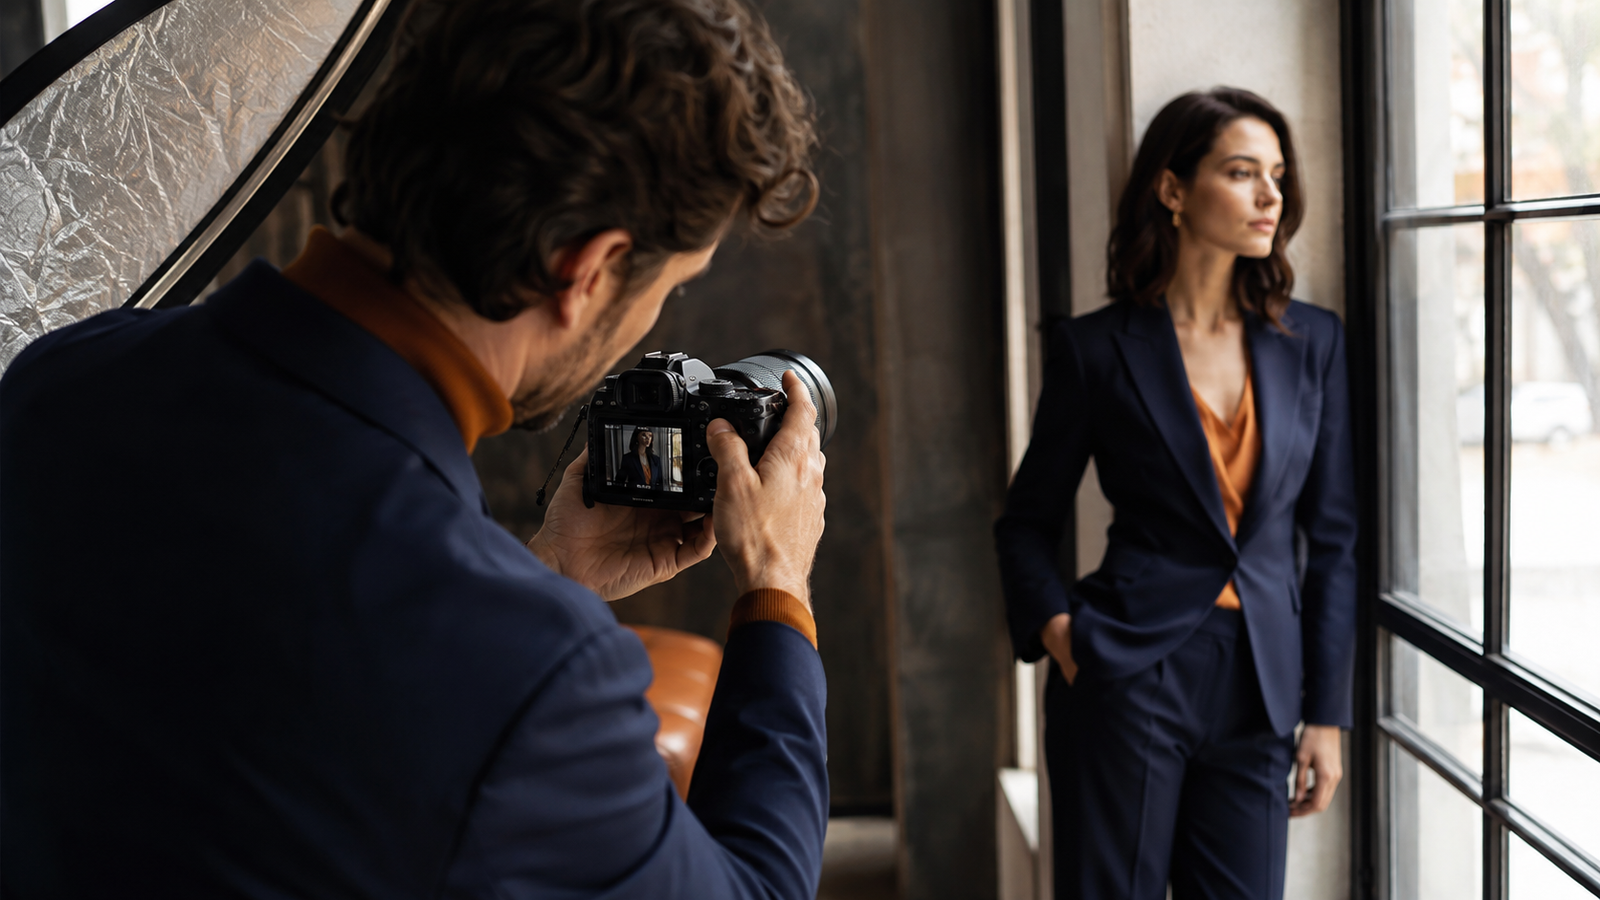
Aperture, shutter speed, and ISO settings should follow the subject, not a universal recipe. For action, protect shutter speed first. For portraits, choose the depth of field and then keep the shutter fast enough for small movements. For tripod landscapes, use a low ISO and let shutter speed become the flexible setting.
The chart below gives sensible starting points. Use them to get close, then adjust for the real light, lens, distance, and movement in front of you.
Aperture, Shutter Speed, and ISO Quick Settings Chart
| Scene | Aperture | Shutter speed | ISO |
|---|---|---|---|
| Outdoor portrait | f/2 to f/4 | 1/250 to 1/1000 | 100 or Auto |
| Indoor portrait | f/1.8 to f/4 | 1/125 to 1/250 | 400 to 3200 |
| Small group | f/4 to f/8 | 1/200 or faster | Auto as needed |
| Landscape on tripod | f/5.6 to f/11 | As required | Base ISO |
| Sports | As wide as depth allows | 1/1000 or faster | Auto or raised |
| Street photography | f/4 to f/8 | 1/250 or faster | Auto |
| Moving water | f/8 to f/16 | 1/2 second or slower | Low ISO |
| Stars | Wide aperture | Several seconds | 800 to 6400 |
These ranges are intentionally broad. A child running toward the camera needs a different shutter speed from a cyclist moving across the frame. Treat the chart as a starting conversation with the scene.
Portrait Settings
Single person outdoors
Start around f/2.8 for background separation, 1/500 second to handle natural movement, and ISO 100 or Auto ISO. In bright sun, the shutter may need to become much faster. Check whether both eyes are within the focus zone when the face is angled.
Indoor portrait near a window
Try f/2 to f/4, around 1/200 second, and raise ISO until the face is properly exposed. A slower shutter may look bright but can soften eyelashes and facial detail as the subject breathes or shifts.
Small group
Begin around f/5.6 and 1/250 second. Arrange people at similar distances from the camera when possible. Raise ISO rather than opening the lens so wide that one row falls out of focus.
The relationship between depth and motion is explained in shutter speed and aperture.
Action and Sports Settings
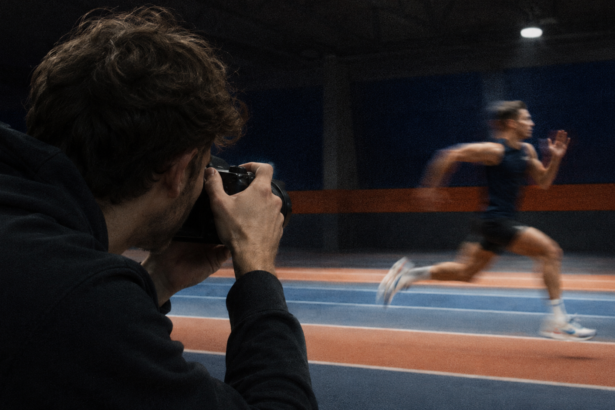
Set shutter speed first, often around 1/1000 second for running sport. Faster action, close subjects, or long lenses may need 1/1600 or 1/2000 second. Use continuous autofocus, a suitable tracking area, and the widest aperture that still gives enough depth for focus errors and subject movement.
Auto ISO is useful because athletes move through different patches of light. A higher ISO is usually a reasonable trade when the alternative is motion blur. See ISO vs shutter speed for a fuller decision guide.
Landscape Settings
On a tripod, start near the camera’s base ISO and choose an aperture for depth and lens performance, often f/8. Focus carefully, use a timer or remote, and let shutter speed adjust for the light.
Do not automatically select f/22. Very narrow apertures can reduce fine detail, and a scene with a distant foreground may benefit more from careful focus placement or focus stacking than from closing the lens completely.
Street Photography Settings
A practical daylight setup is aperture priority at f/5.6 or f/8 with Auto ISO and a minimum shutter speed around 1/250 second. If people are moving quickly, raise the minimum. Zone focusing and a moderate aperture can make spontaneous frames faster, while eye autofocus works well for closer subjects.
Low-Light Event Settings
Start with the minimum shutter speed that keeps people sharp, often 1/125 to 1/250 second. Open the aperture as much as the required depth permits, then raise ISO. Watch mixed lighting and bright signs, which can fool automatic exposure.
If every indoor frame remains soft, work through why all your photos are blurry before assuming the camera needs replacing.
Moving Water and Long Exposures
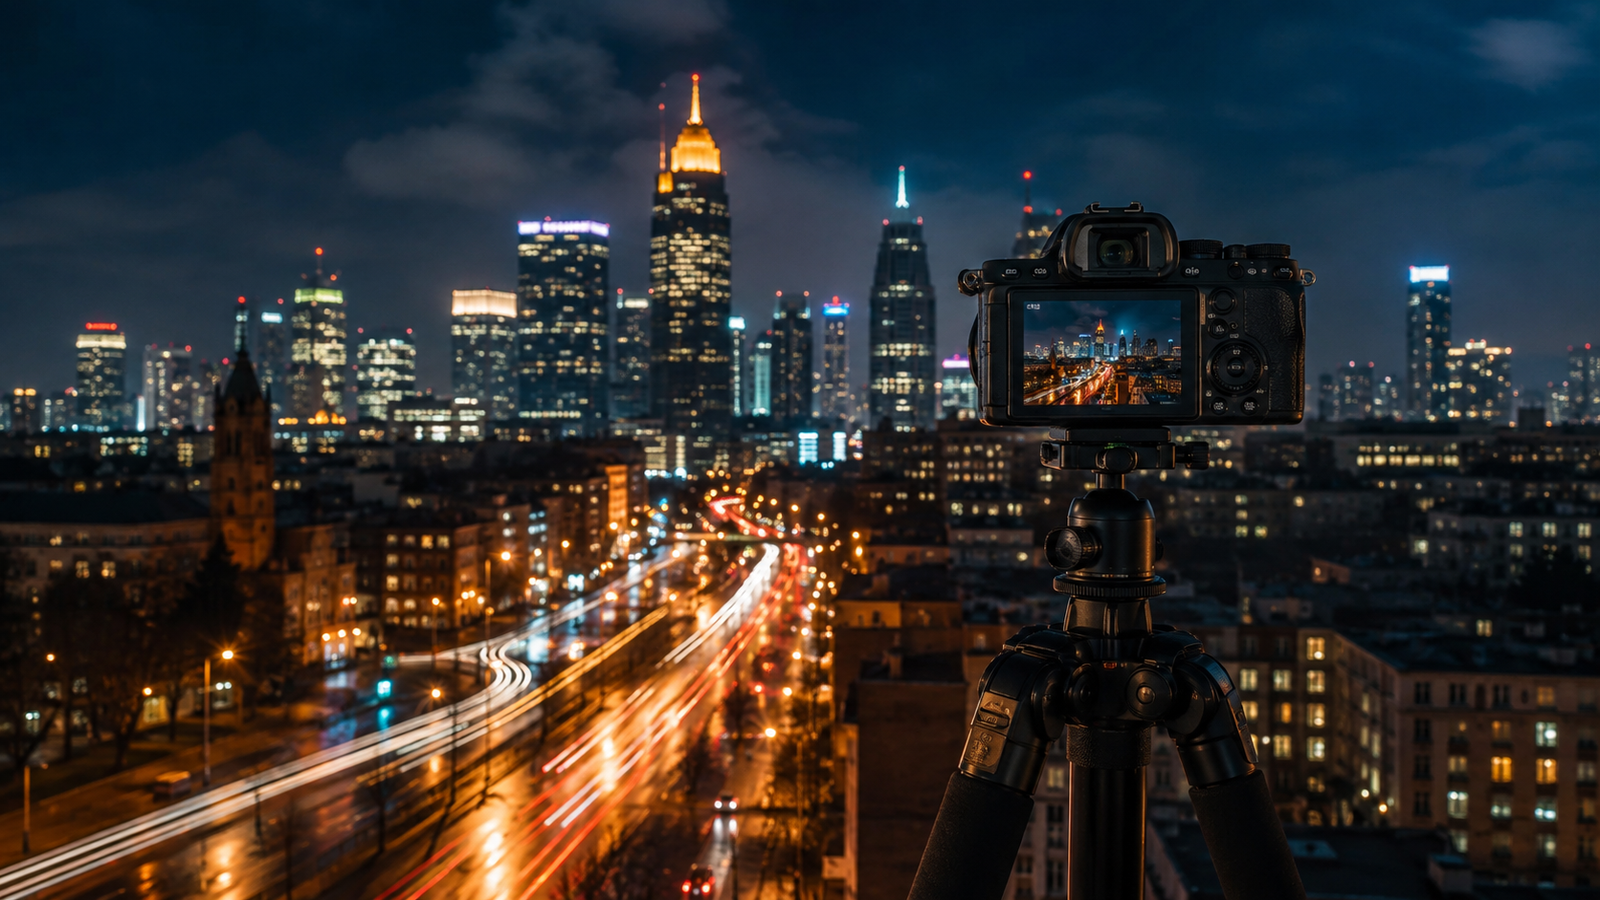
For silky water, mount the camera securely, use low ISO, and experiment from about 1/2 second to several seconds. Choose aperture for depth and exposure. In daylight, a neutral-density filter may be necessary to prevent overexposure without using an excessively narrow aperture.
Keep some texture in the water when it suits the scene. The longest possible exposure is not always the most interesting one.
Night Sky Settings
Use a wide aperture, a shutter lasting several seconds, and an ISO high enough to record stars. The exact shutter limit depends on focal length and how much star movement you will accept. Focus manually on a bright star using magnified live view, then take a test frame and inspect the stars for trails.
Noise reduction, stacking, and careful editing can improve the result, but they cannot repair missed focus.
Video Starting Settings
For natural-looking motion, many videographers begin with a shutter speed close to double the frame rate. At 24 frames per second, that is roughly 1/48 or 1/50 second. Choose aperture for the scene, then manage brightness with ISO, lighting, or a neutral-density filter.
Video priorities also depend on autofocus, stabilization, recording limits, and handling. The mirrorless vs DSLR camera comparison covers those system-level choices.
A Repeatable Setup Method
- Identify the most important visual result: motion, depth, or clean detail.
- Set shutter speed for subject movement and handholding.
- Set aperture for the required focus range.
- Adjust ISO until brightness is usable.
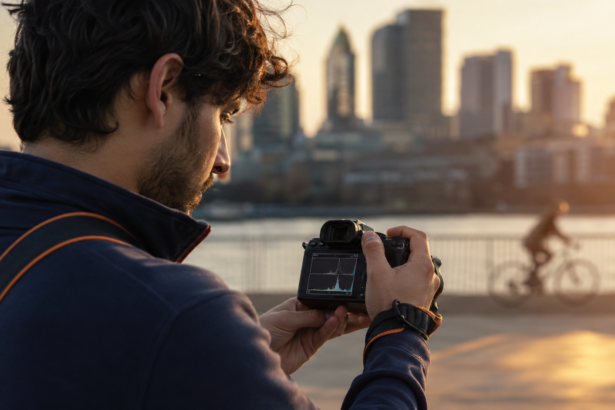
- Check the histogram and important highlights.
- Review focus and motion at a realistic size.
- Change one setting and test again.
If the three controls still feel abstract, read the beginner guide to ISO, shutter speed, and aperture before memorizing more scenario numbers.
Frequently Asked Questions
What settings should I leave on Auto?
Auto ISO is often the most useful automation because you can keep direct control of motion and depth. Aperture or shutter priority can also be better than full manual when light changes quickly.
What settings create the sharpest photo?
Sharpness depends on accurate focus, suitable shutter speed, lens performance, depth of field, and steady technique. No single aperture, shutter, or ISO guarantees it.
Is ISO 3200 too high?
Not necessarily. It depends on the camera and final use. ISO 3200 may be appropriate when it protects a critical shutter speed in low light.
Why are my manual settings producing a dark image?
The selected aperture and shutter are admitting less light than the scene requires at the current ISO. Open the aperture, slow the shutter if motion allows, raise ISO, or add light.
The Bottom Line
Use settings as priorities, not recipes. Protect motion with shutter speed, choose depth with aperture, and let ISO make those choices workable. Starting values save time, but checking the actual frame is what turns them into a good exposure.
For a useful second reference, Adobe’s guide to photographic exposure explains how aperture, shutter speed, and ISO work together.