

If you are wondering why are my pictures blurry, first decide whether the softness comes from movement, missed focus, or the file itself.
- Why Are My Pictures Blurry? Start Here
- What the Blur Is Telling You
- Why Are My Pictures Blurry? The Most Common Causes
- 1. The camera moved during the exposure
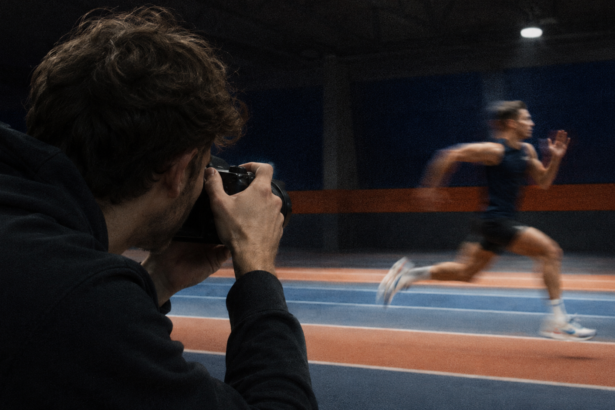
- 2. Your subject moved
- 3. Focus landed in the wrong place
- 4. The shutter speed is too slow for the lens
- 5. The light is too low
- 6. The aperture is extremely wide
- 7. ISO is very high
- 8. The lens is dirty, fogged, or covered
- 9. You are too close for the lens to focus
- 10. Digital zoom is reducing detail
- 11. The camera or lens has a repeating problem
- 12. Exporting or uploading softened the file
- A Five-Minute Sharpness Test
- Phone Pictures That Keep Looking Blurry
- Frequently Asked Questions
- Why are my pictures blurry even in good light?
- Can autofocus make every photo blurry?
- Does raising ISO make photos blurry?
- Why do photos look sharp on the camera but blurry later?
- The Bottom Line
Why Are My Pictures Blurry? Start Here
If you are asking why are my pictures blurry, start with three likely causes: the camera moved, the subject moved, or the camera focused on the wrong place. Low light makes all three more common because the camera may use a slower shutter speed. A dirty lens, digital zoom, or heavy compression can also soften an otherwise sharp photo.
The fastest way to solve the problem is to stop guessing. Look closely at the shape of the blur, repeat the shot under controlled conditions, and change one setting at a time.
What the Blur Is Telling You
| What you see | Most likely cause | First thing to try |
|---|---|---|
| The whole frame has streaks | Camera shake | Use a faster shutter speed or steady the camera |
| The background is sharp but the person is soft | Subject movement | Raise the shutter speed |
| One area is sharp, but not the intended subject | Missed focus | Move the focus point onto the subject |
| Edges look smeared or hazy | Dirty or fogged lens | Clean the front element gently |
| The saved or posted image looks worse than the original | Compression or small export size | Check export and upload settings |
Why Are My Pictures Blurry? The Most Common Causes
1. The camera moved during the exposure
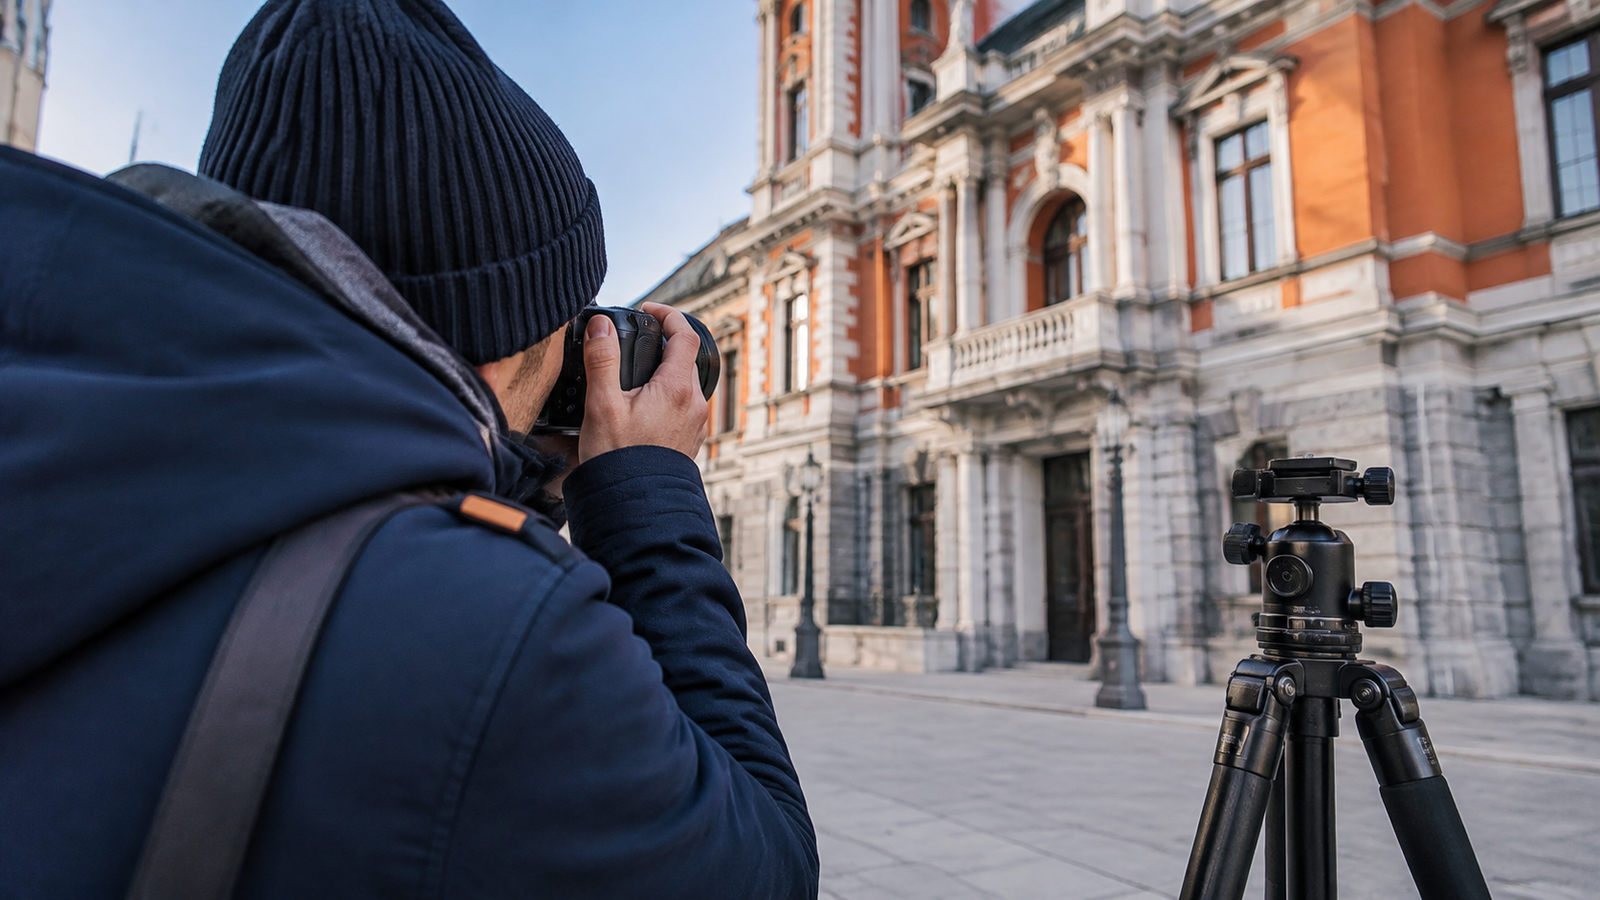
Even a small hand movement can soften a photo when the shutter stays open for too long. This often happens indoors, around sunset, or when using a long lens. If straight lines appear doubled or dragged in one direction, camera shake is the likely culprit.
Try bracing your elbows against your body, leaning against a solid surface, or using a tripod. More importantly, choose a faster shutter speed. The practical guide to ISO vs shutter speed explains how to brighten the frame without leaving the shutter open too long.
2. Your subject moved
A steady camera cannot freeze a moving child, pet, athlete, or passing car if the shutter speed is too slow. Subject blur usually affects the moving person or object while stationary areas remain clearer. Walking people may need around 1/250 second, while faster action often needs 1/500 second or quicker. Treat those numbers as starting points, not rigid rules.
3. Focus landed in the wrong place
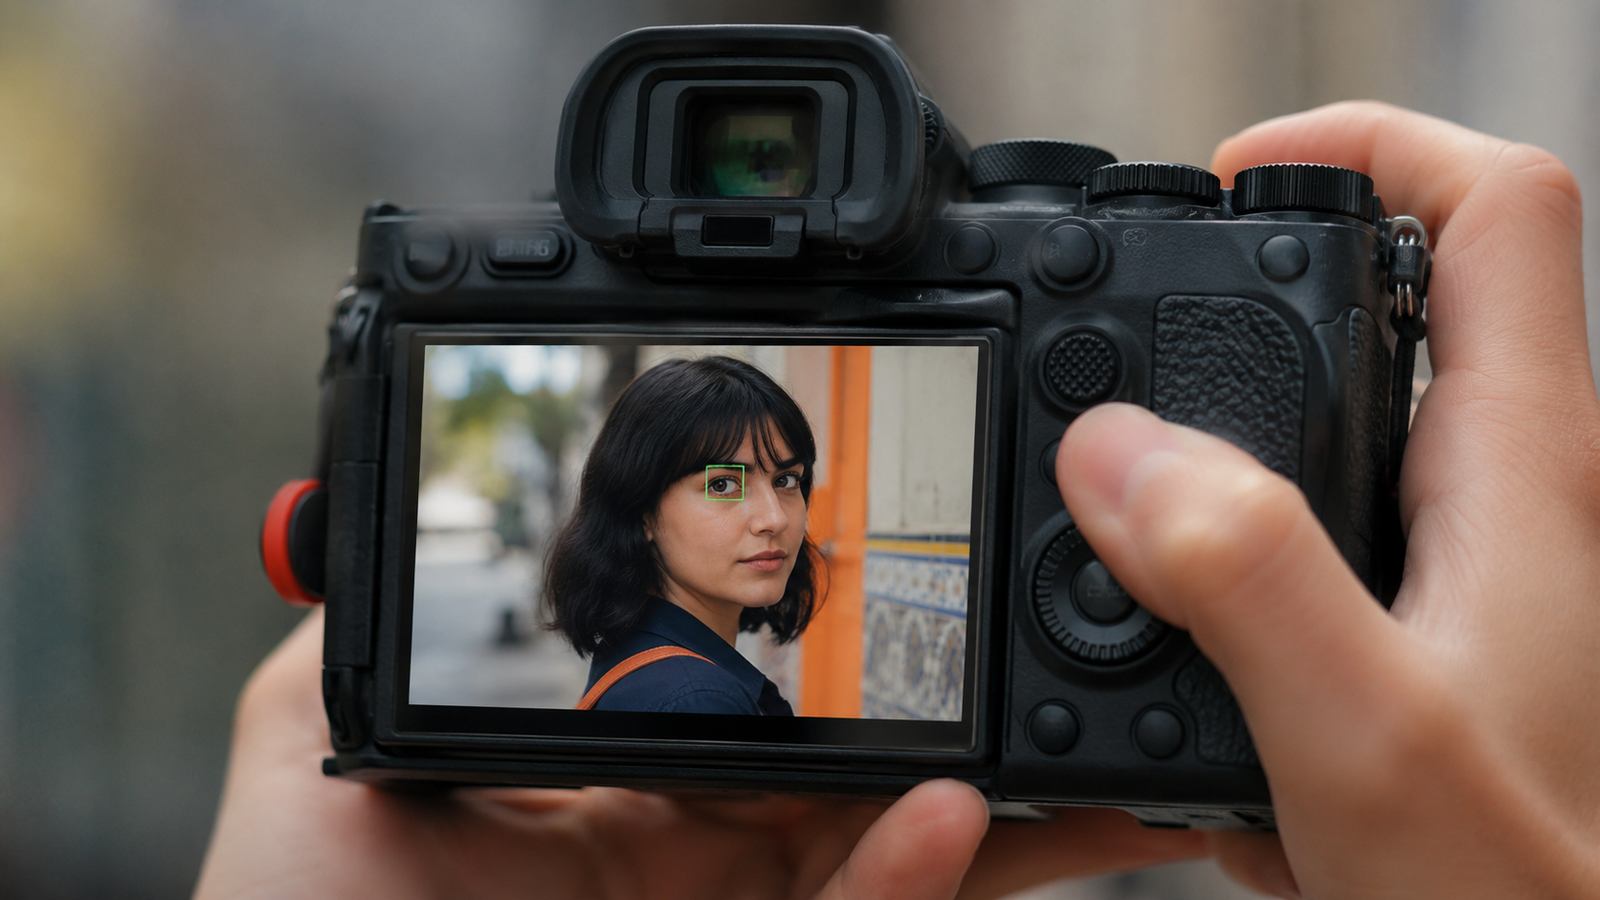
Modern autofocus is quick, but it still needs direction. A camera may choose the background, a nearby object, or the wrong face. Use a single focus point for precise subjects, eye autofocus for portraits, and continuous autofocus for movement. On a phone, tap the subject on the screen before taking the picture.
4. The shutter speed is too slow for the lens
Longer focal lengths magnify hand movement. A shutter speed that works with a wide lens may produce blur with a telephoto. If your camera has stabilization, turn it on for handheld work. Stabilization helps with your movement, but it cannot stop the subject from moving.
5. The light is too low
In dim light, automatic mode often chooses a slow shutter speed to collect more light. You can move closer to a window, add a lamp, open the aperture, or raise ISO. Each option has a tradeoff, which is why understanding ISO vs aperture vs shutter speed makes troubleshooting much easier.
6. The aperture is extremely wide
A wide aperture such as f/1.4 can create beautiful background blur, but it also produces a thin zone of sharp focus. One eye may be sharp while the other is slightly soft. For a small group or a subject with depth, try f/4 or f/5.6 and adjust the other exposure settings as needed. See how shutter speed and aperture work together before changing both at once.
7. ISO is very high
High ISO does not create motion blur, but strong noise reduction can wipe away fine detail and make a photo look waxy or soft. Use the ISO you need to protect shutter speed, then avoid excessive noise reduction during editing.
8. The lens is dirty, fogged, or covered
Fingerprints are especially common on phone cameras. Condensation can appear when moving between cold and warm environments. Clean the lens with a microfiber cloth and give fog time to clear. Do not use a shirt with grit on it, since that can scratch coatings.
9. You are too close for the lens to focus
Every lens has a minimum focusing distance. If autofocus hunts back and forth during a close-up, move away slightly and try again. A macro mode or macro lens may be needed for very small subjects.
10. Digital zoom is reducing detail
Digital zoom crops and enlarges the image. It can look acceptable on the phone screen but disappointing on a laptop. Use the camera’s optical lens options when possible, or step closer safely and crop modestly later.
11. The camera or lens has a repeating problem
If every frame is blurry in bright light, even with a fast shutter speed and a stationary subject, run a simple controlled test. The separate guide to why all your photos are blurry helps distinguish a settings problem from a lens or equipment issue.
12. Exporting or uploading softened the file
Compare the original file at 100 percent with the version you posted or sent. If the original is sharp, the camera is not the problem. Read why photos look blurry after uploading for export size, compression, and messaging-app checks.
A Five-Minute Sharpness Test
- Clean the lens.
- Photograph a printed page or textured object in bright daylight.
- Keep the subject still and support the camera on a stable surface.
- Use a single focus point and place it on high-contrast detail.
- Take one frame with the timer to avoid pressing the shutter during exposure.
- Review the original file at 100 percent, not a social-media copy.
If this test is sharp, the equipment can produce a clear image. The earlier blur was probably caused by movement, focus selection, or low light. If the test remains consistently soft, try another lens if available, reset unusual autofocus settings, and inspect the lens for haze or damage.
Phone Pictures That Keep Looking Blurry
With a phone, begin by cleaning every rear lens and removing any case or lens protector that overlaps the camera. Tap the main subject, avoid pinching far into digital zoom, and hold the phone still for a moment after pressing the shutter in low light. If only part of the preview is soft, use the guide to a phone camera that looks blurry at the top.
If you are deciding whether a newer camera system would make video and stills easier, the mirrorless vs DSLR camera comparison covers autofocus, stabilization, and handling without assuming new gear will fix basic technique.
Frequently Asked Questions
Why are my pictures blurry even in good light?
The focus point may be misplaced, the subject may be moving quickly, or the lens may be dirty. Use a single focus point and a fast shutter speed for a controlled test.
Can autofocus make every photo blurry?
Yes, especially if the camera is using the wrong autofocus area, the lens is below its minimum focusing distance, or continuous and single autofocus modes are mismatched to the subject.
Does raising ISO make photos blurry?
Raising ISO does not cause motion blur. Very high ISO can reduce fine detail through noise and noise reduction, but it may still be the better choice if it lets you use a shutter speed that prevents movement blur.
Why do photos look sharp on the camera but blurry later?
The camera’s small screen can hide slight focus errors. Check the full-size original on a larger display. If only the uploaded copy is soft, review its dimensions and compression.
The Bottom Line
Blurry pictures are usually traceable to movement, missed focus, or low light. Read the pattern of the blur, make a controlled test, and change one variable at a time. That method is faster and more reliable than buying new gear or increasing every setting at once.
For another practical reference, Adobe’s guide to sharpening blurry photos covers focus, camera stability, shutter speed, and aperture.